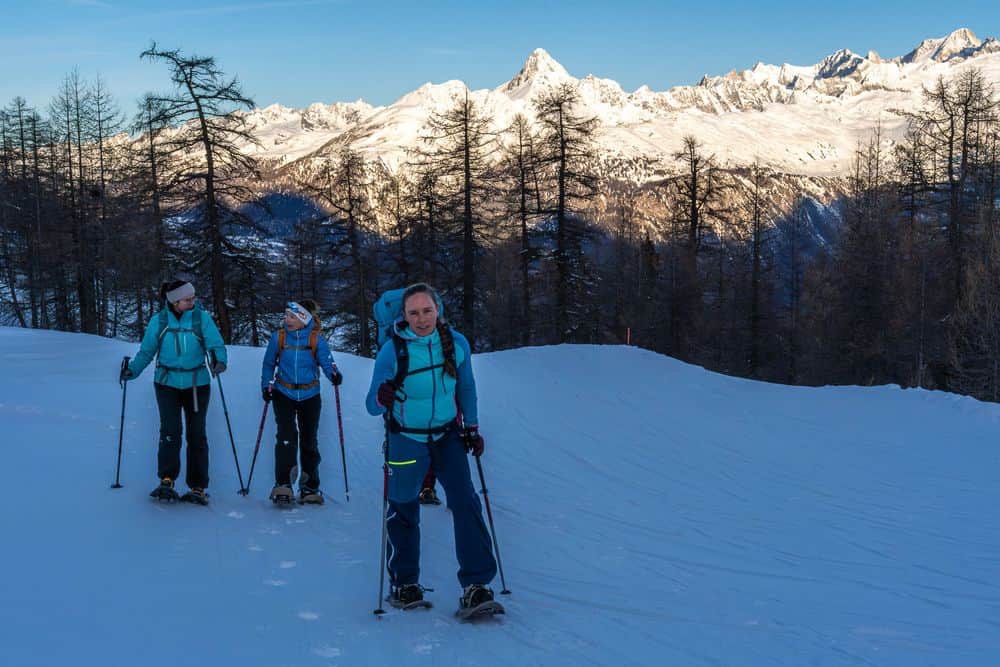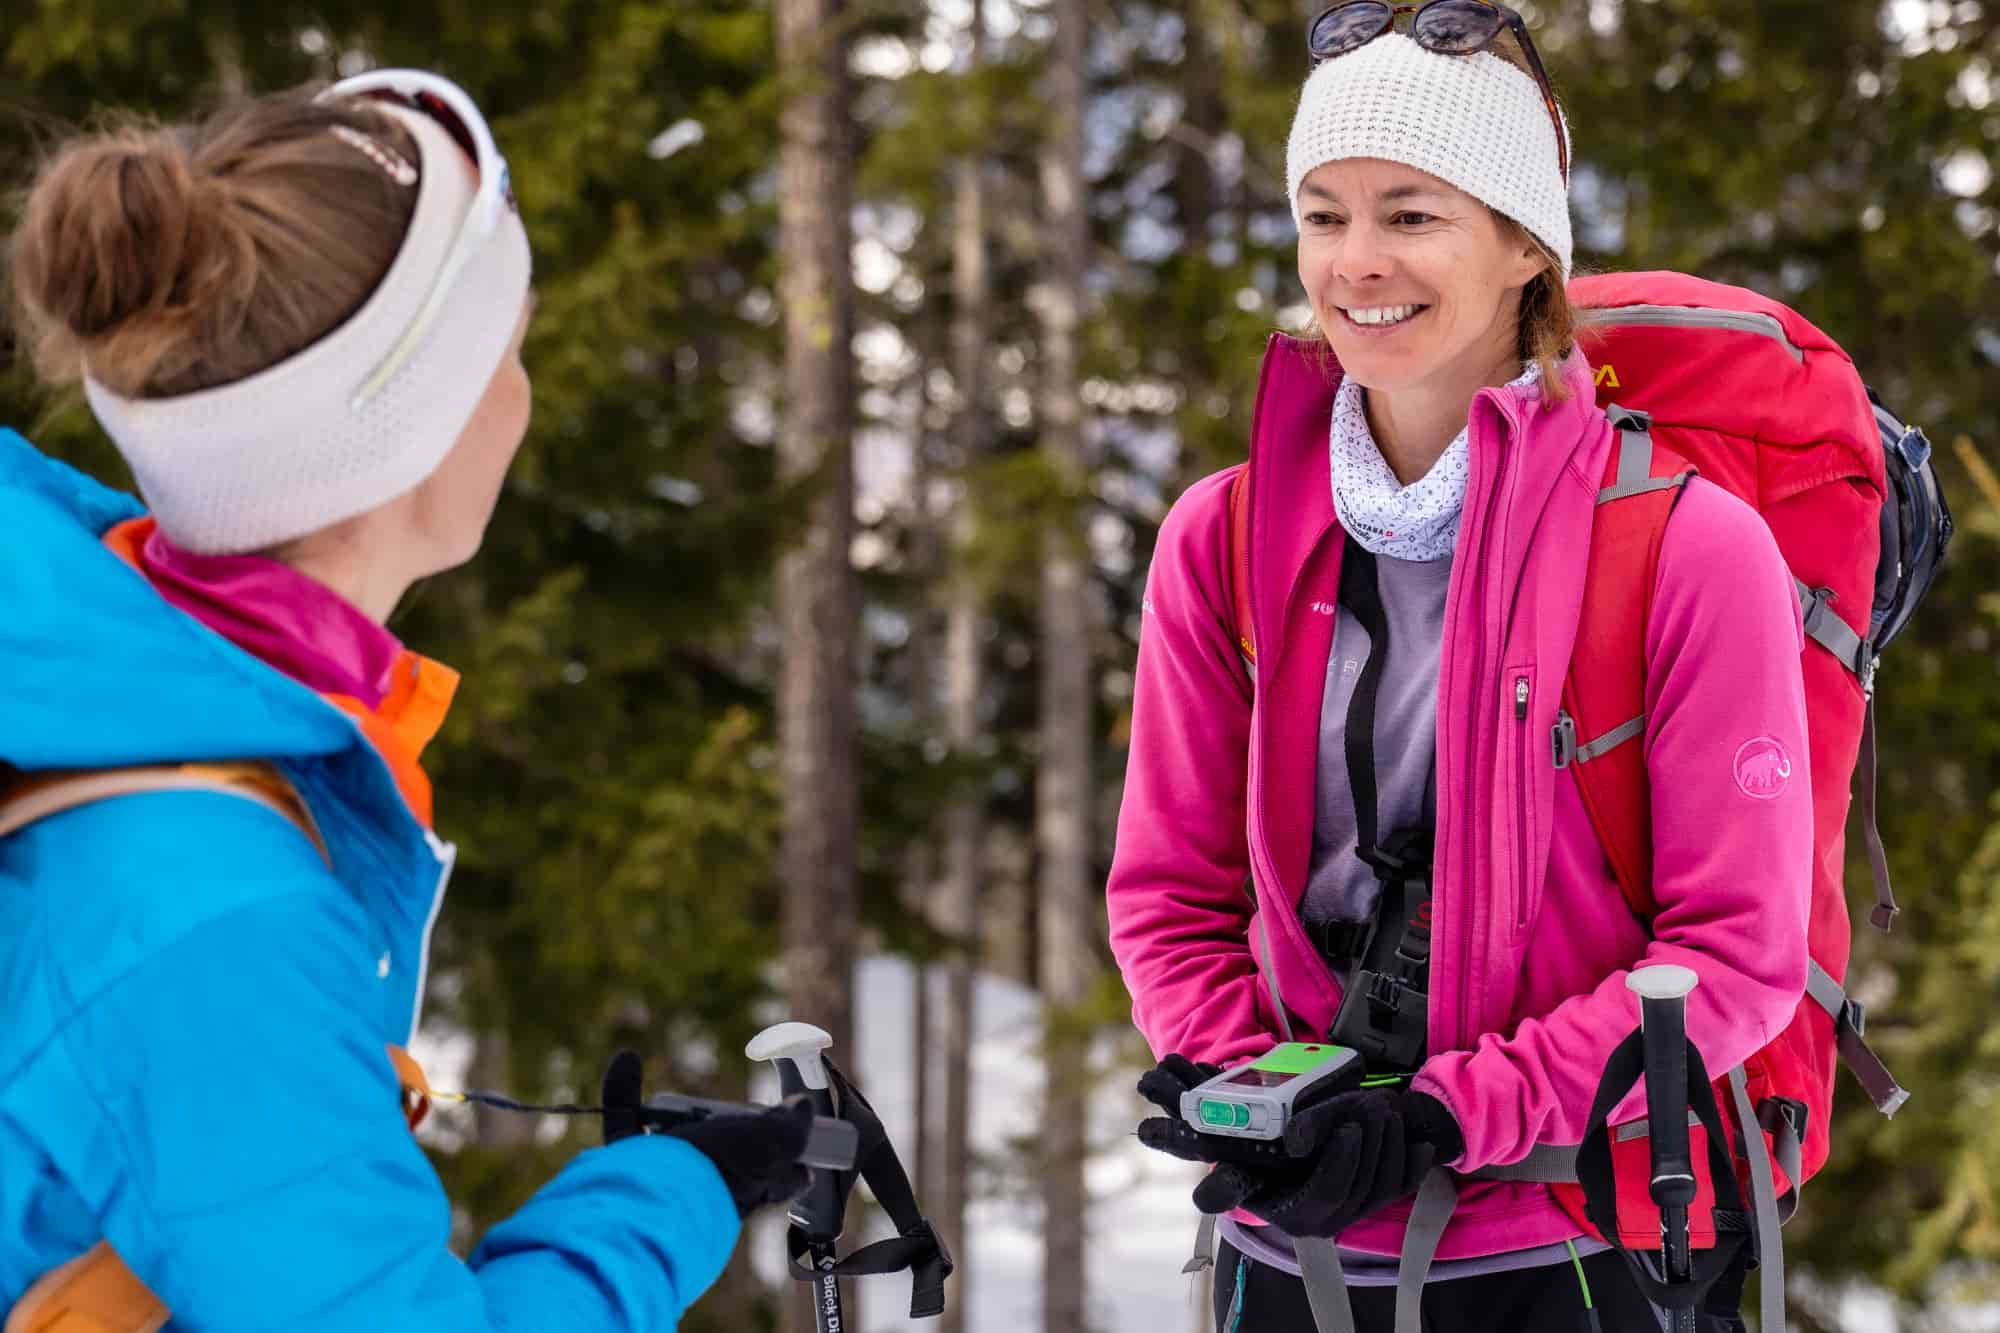
Short answer: On open, signposted snowshoe trails, usually not. As soon as you break your own trail, yes. And not just the transceiver, but shovel and probe too, plus the know-how to use them.
Picture one of those winter days you happily set your alarm early for. The sun climbs over the ridge, the snow sparkles as if someone had scattered sugar over it, and at the edge of the forest there's a slope nobody has touched yet. No tracks, no people, just you, your snowshoes and the soft crunch with every step.
And somewhere at the back of your mind, a question pops up, the same one you had in the sports shop in front of the shelf full of bright orange devices: Do I really need one of those? I'm only going for a hike. With big feet, admittedly, but still a hike.
The honest answer: it depends on where you go. And that "where" is what this article is all about. Not to scare you, but to give you a different way of looking at snowy slopes. Once you have it, you'll be more relaxed out there, because you know what really matters.
Where we go on snowshoes
The beauty of snowshoeing is that you can go almost anywhere. Through snowy forests, across alpine pastures, over rolling terrain full of little bumps and hollows and, when conditions allow, up above the treeline into the open mountains.
Most snowshoe tours stay on slopes of up to around 30 degrees. There's a simple reason for that: up to that point, it's great fun. You can go steeper, but then the leisurely plodding quickly turns into scrambling, and on the way down your snowshoes would rather slide than grip.
Things get interesting when you look at what lies around your track. The Swiss Alpine Club (SAC) difficulty scale makes this nicely clear:
- WT1: The terrain is flat or gently sloping, and there are no steep slopes nearby. There is no avalanche danger.
- WT2: The track is just as easy, but there are steep slopes nearby. And with them, avalanche danger. So on both tours you're walking through the same gentle terrain. The difference isn't under your feet, it's next to you and above you. That's exactly why the SAC recommends a transceiver, shovel and probe for every snowshoe tour from WT2 upwards. In a way, that already answers the question in the title. But the why is the interesting part.
So how often does something actually happen?
First, the reassuring news: avalanche accidents are rare. Averaged over the last 20 years, around 19 people die in avalanches in Switzerland each winter. The vast majority of them are ski tourers and freeriders.
Snowshoers are affected less often, but not never. The Swiss Council for Accident Prevention (bfu) reports around three snowshoers killed in Switzerland each year, mostly in avalanches. The numbers vary a lot from year to year: in the winter of 2008/09, six snowshoers died in avalanches, the following winter one.
It's worth looking beyond avalanches, too. In 2021, the SAC recorded 93 emergencies involving snowshoers, more than twice as many as the year before. Most of the people involved had got lost or were stuck. So snowshoeing isn't an extreme sport, but it's not a stroll in the city park either.
The most important figure comes last: in around ninety percent of all fatal avalanche accidents, the victims triggered the avalanche themselves. Avalanches rarely come out of the blue. They happen where we go. That sounds uncomfortable at first, but it's actually good news. Because where we go is something we can control.
"I'll just stay in the forest." Why that won't protect you
If there's one sentence I hear regularly on snowshoe tours, it's this one. It sounds logical: nothing can slide between all those trees, right? Unfortunately, it's a little more complicated.
Trees only protect you once they're much taller than the snow. Switzerland's avalanche research institute SLF has been observing a reforested slope above Davos since 1975. In the early years, avalanches released there regularly, even though the slope was full of young trees. Only once the trees were about twice as tall as the snowpack did the number of avalanches drop noticeably. A sparse young forest, a slope with shrubs or a fresh plantation are therefore no protection.
Not every forest is the same. Spruce and Swiss stone pine hold back a lot of snow on their branches. Underneath, the snowpack becomes irregular, and the dreaded weak layers hardly form. Larches, on the other hand, lose their needles in winter. According to the SLF, a pure larch forest therefore protects less well than a forest with stone pine or spruce. Especially in Valais, where the larches glow such a glorious gold in autumn, that's worth keeping in mind.
Gaps are popular, with avalanches too. Clearings, aisles and larger gaps in the forest are potential release zones. And these open spots are exactly the ones we love to seek out on snowshoes, because that's where the view opens up.
The forest won't stop what comes from above. An avalanche that releases higher up in open terrain can reach deep into the forest. Then the forest is no longer protection but an obstacle course of tree trunks. Anyone caught in it has an injury problem on top of being buried.
So the forest is a wonderful place for snowshoe tours, especially in poor visibility. But it's not a free pass.
Slope angle: the most important number in the mountains
If you remember just one number from this article, make it this one: 30 degrees. From this steepness upwards, slab avalanches can release. The steeper a slope gets, the more easily it can be triggered. The typical release zone in fatal avalanche accidents is around 36 to 40 degrees steep and often on a shady slope.
The tricky part: 30 degrees looks harmless from below. To the eye, the difference between a comfortable 25-degree slope and a critical 35-degree slope is surprisingly small. And once you're standing at the top, you judge it differently anyway.
You may have heard of methods where you lay your poles in a triangle in the snow, let a pole swing like a pendulum or pull an inclinometer out of your jacket pocket. All of that works, sort of, but it's fiddly, and to be honest, nobody feels like doing it in the middle of a slope.
There's an easier way. You can reliably work out the slope angle at home while planning, no geometry lesson in the snow required. Out on the tour, all you need is a trained eye to check whether reality matches your plan.
I show you exactly how in my snowshoe course [course link to follow]. It's one of those things where you wonder afterwards why you didn't always do it this way.
It's not just the slope below you, it's the one above you too
Now it gets exciting. So far we've talked about the slope you're standing on. But for avalanche danger, what lies above and beside you matters too. And how large that area is depends on the current avalanche danger level.
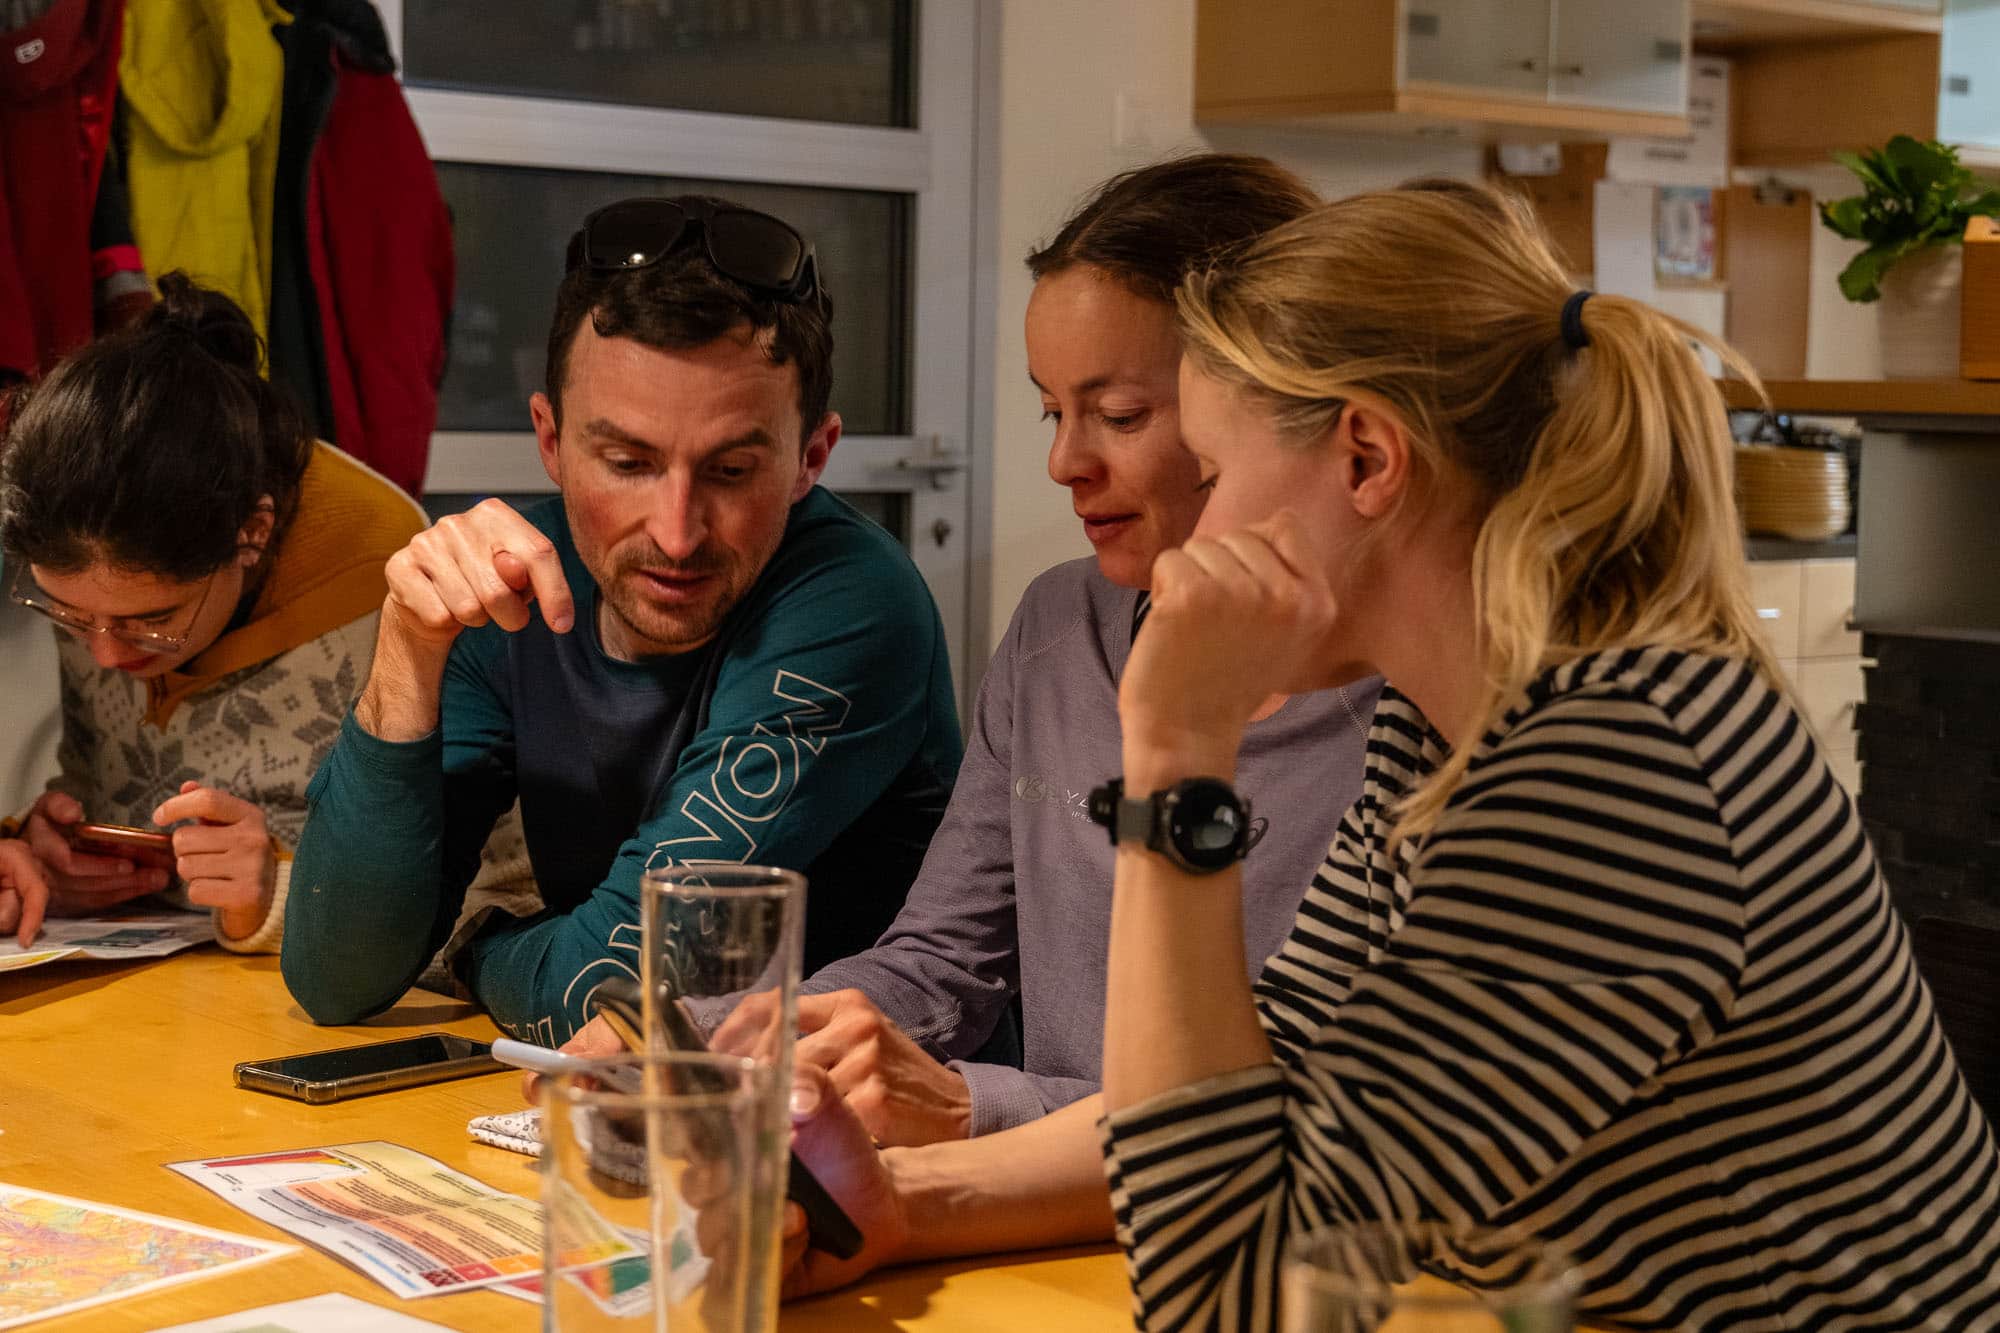
You'll find the danger level every day in the SLF avalanche bulletin, on slf.ch or in the White Risk app. The scale runs from 1 (low) to 5 (very high). For us snowshoers, levels 1 to 3 are the relevant ones, because when the danger is high, you shouldn't be in open terrain anyway.
The basic idea is simple: The higher the danger level, the flatter the terrain should be and the larger the area you need to keep an eye on.
| Danger level | Avoid slopes steeper than | Area to consider |
|---|---|---|
| 1 low | 40 degrees (extremely steep) | the area around your track |
| 2 moderate | 35 degrees (very steep) | the whole slope |
| 3 considerable | 30 degrees (steep) | the whole slope |
| 4 high | steep terrain in general | the whole slope including the runout zone |
The table is a simplified version of the so-called reduction method. It doesn't replace an avalanche course, but it shows nicely how the rules of the game shift.
Considerable is the most underestimated level. It sounds like the middle of the scale, so more or less "should be fine". In reality, it accounts for around thirty percent of all avalanche deaths. That's why the rule of thumb from considerable upwards is: avoid slopes steeper than 30 degrees, not only the ones you walk on, but also the ones above your track.
Snowshoers in particular often stand at the bottom rather than the top. Anyone plodding comfortably across a flat valley floor feels safe. But if there's a steep slope above, you may well be standing right in the runout zone of an avalanche. Large avalanches can travel far into flat terrain. The ground under your feet is completely harmless, the ground above you is not.
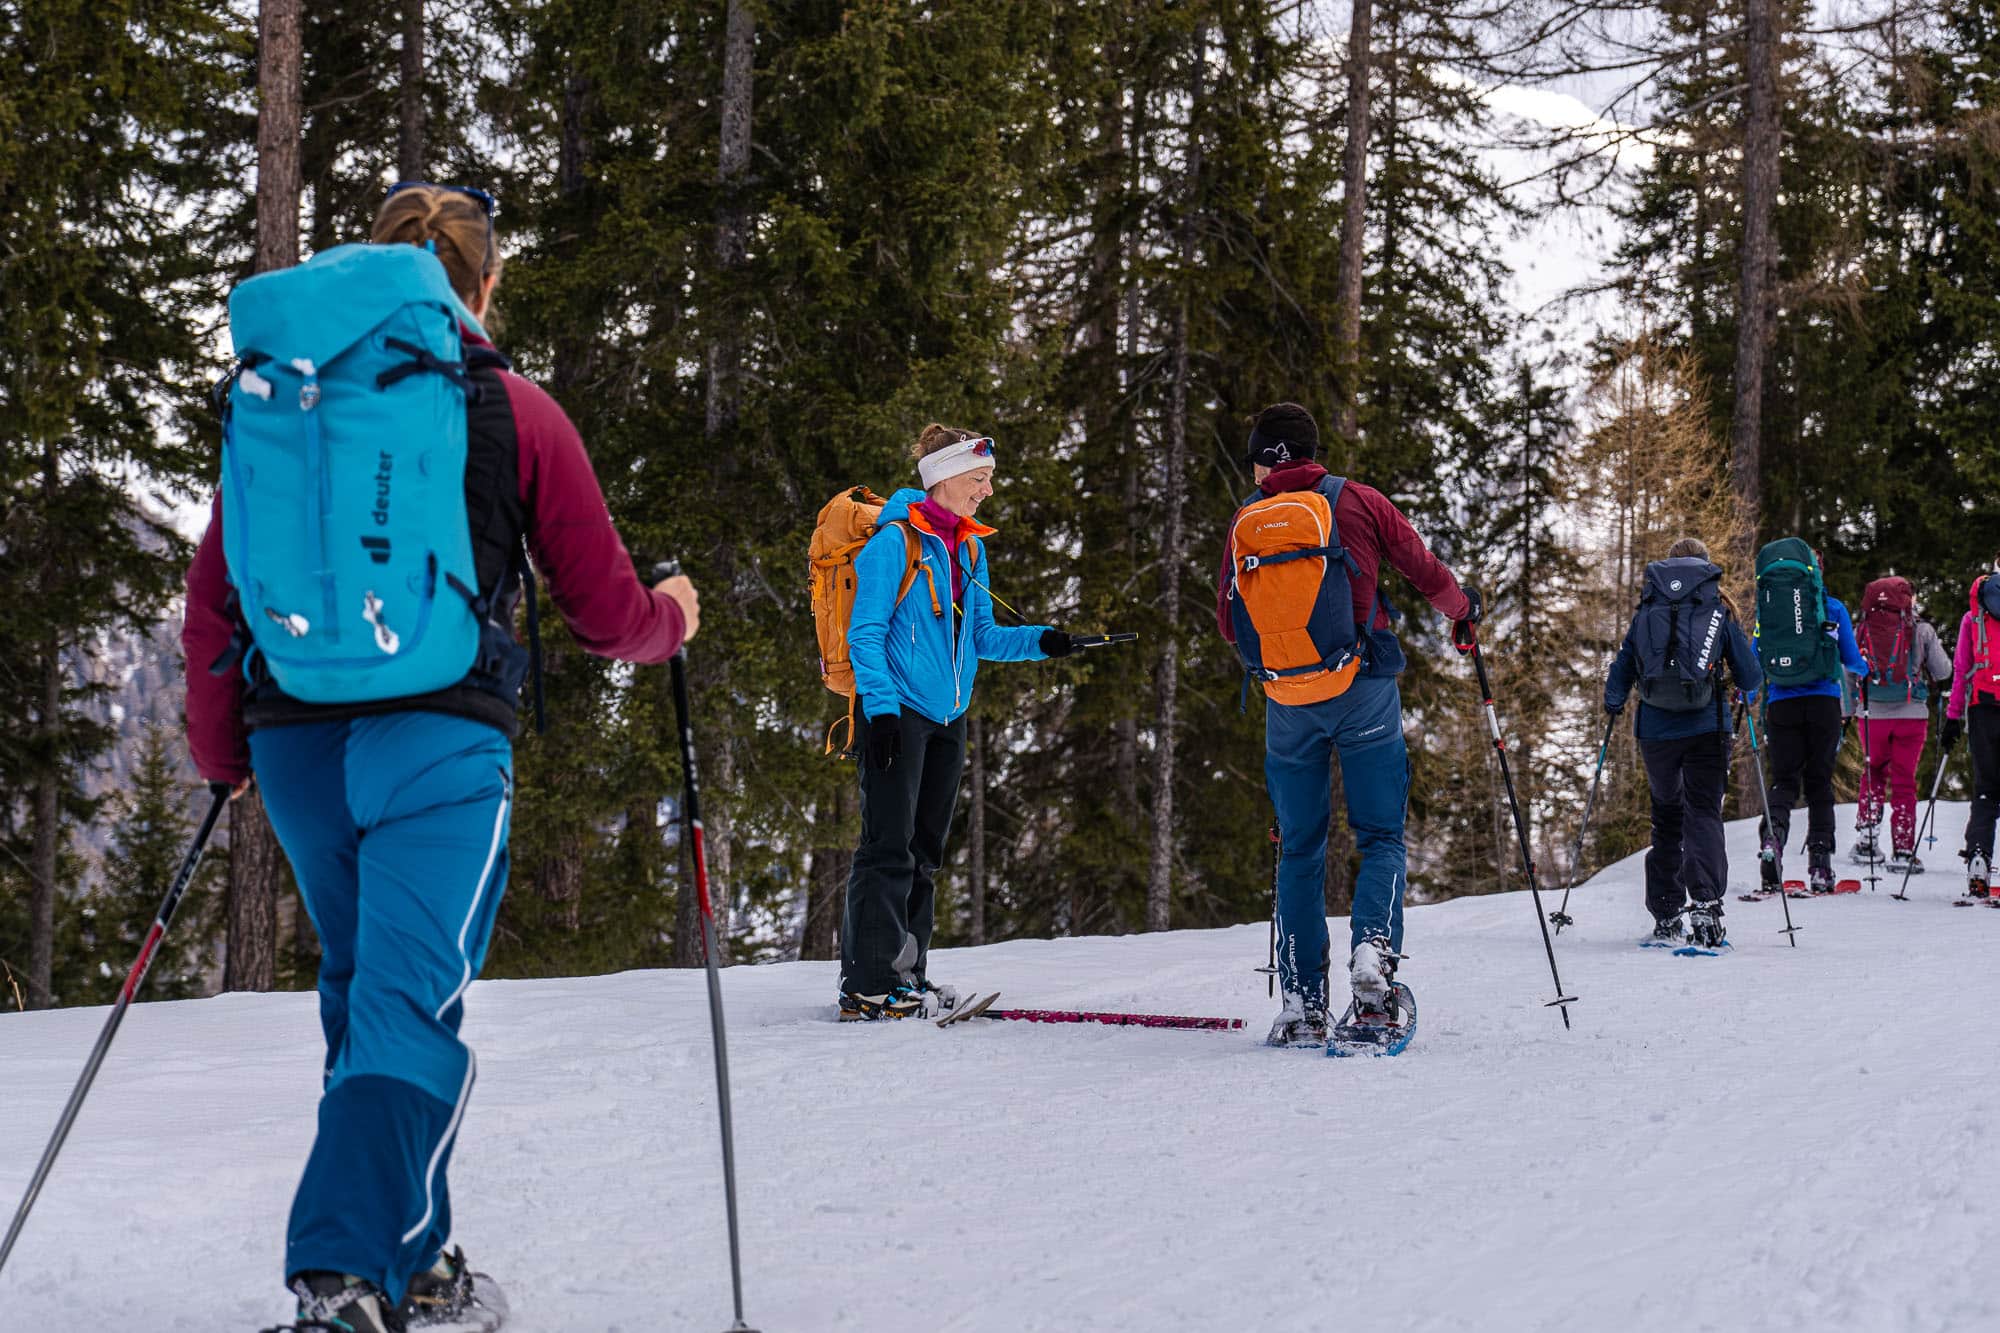
Transceiver, shovel, probe: what the three are actually for
Together, the three items form a rescue chain. Each link has its job, and if one is missing, the chain breaks.
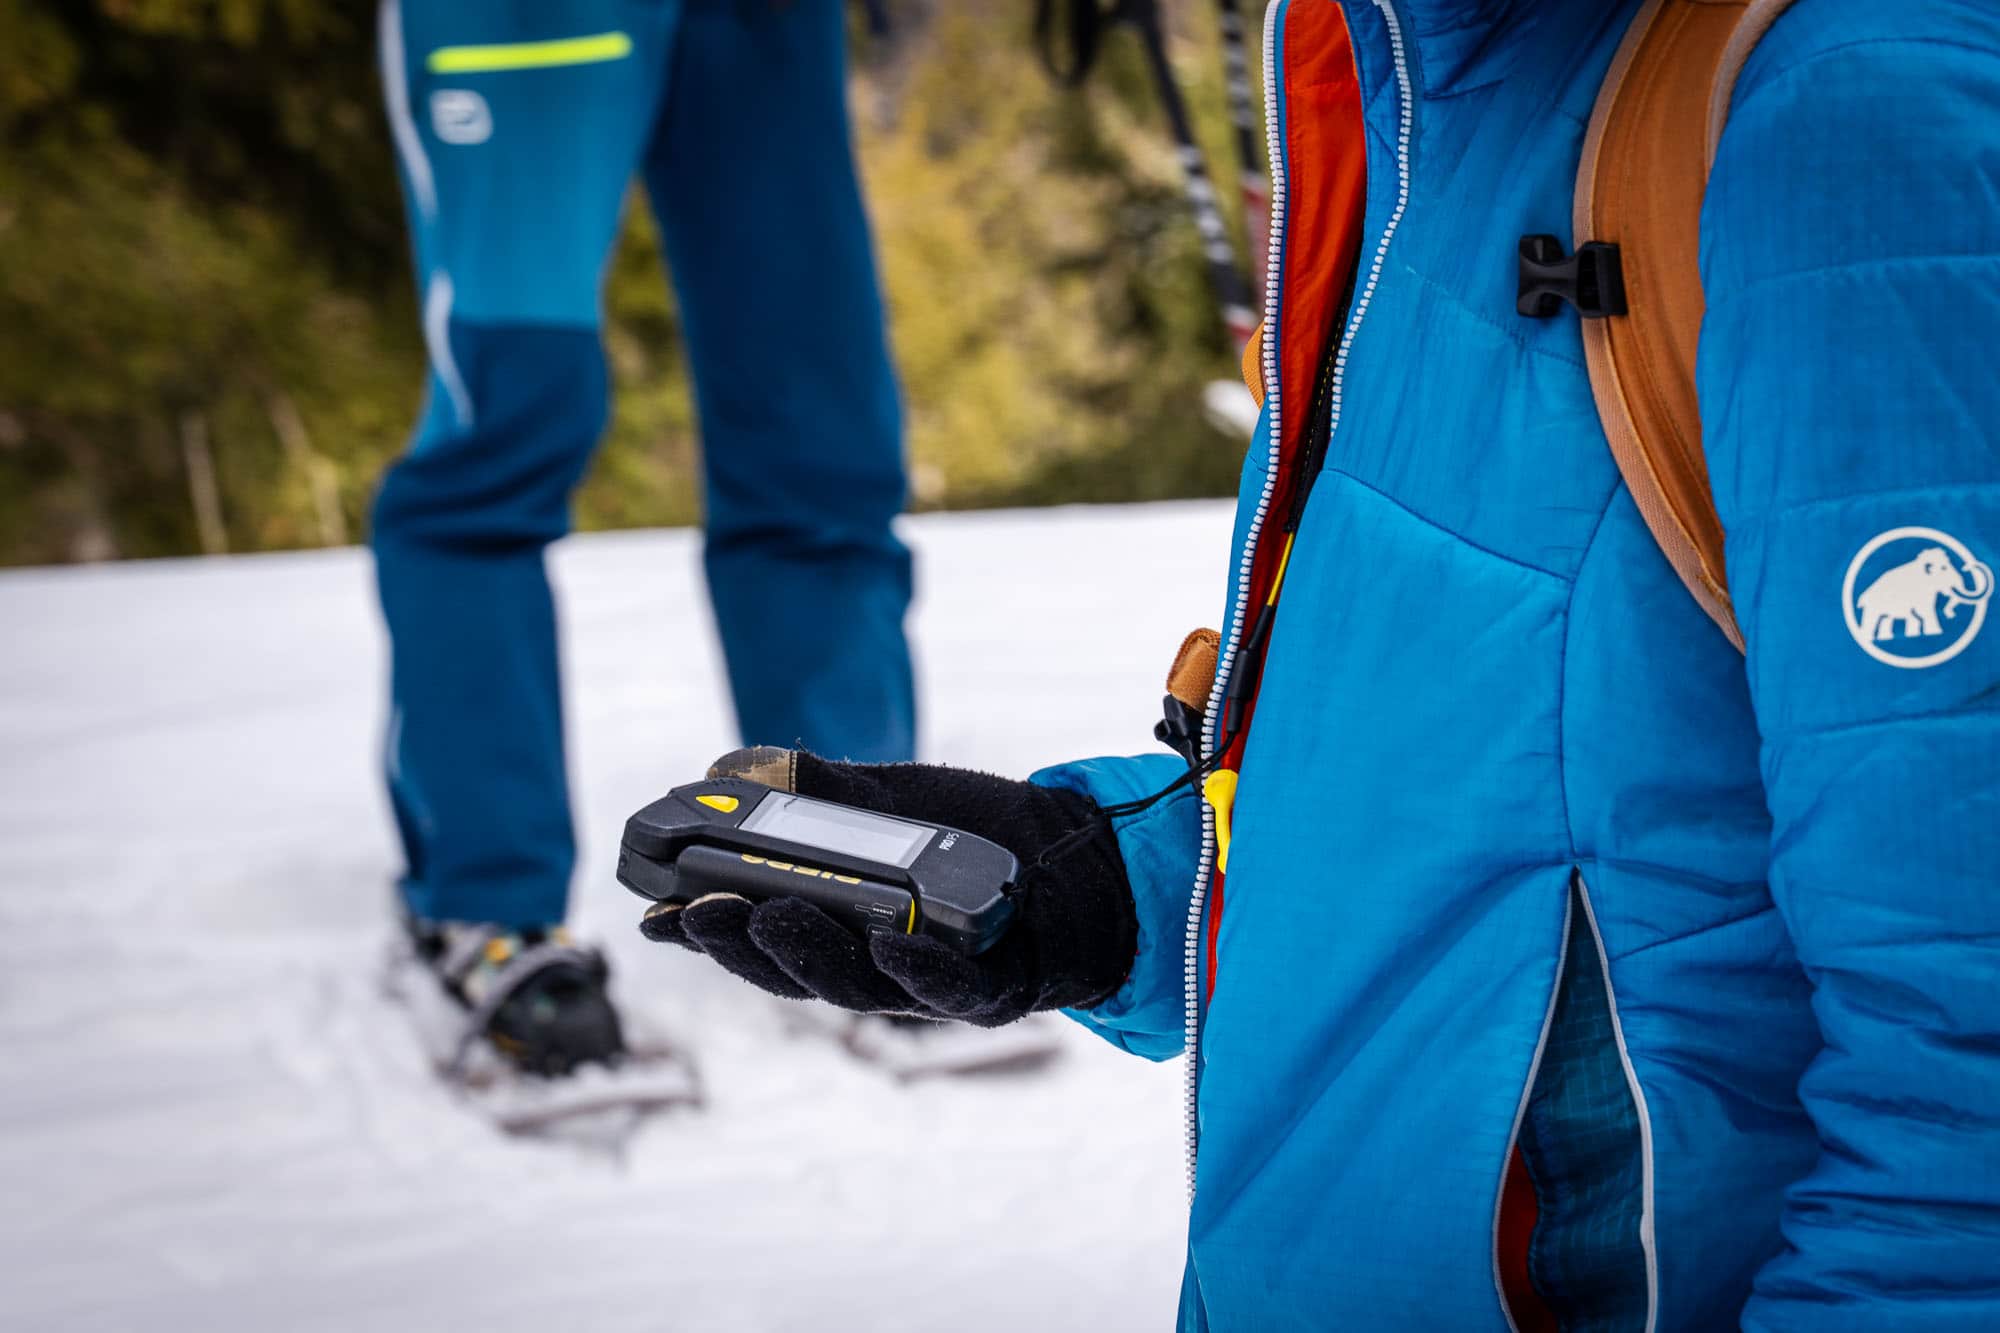
The transceiver finds the buried person. In German it's called a Lawinenverschüttetensuchgerät, LVS for short, a word that would win you any game of Scrabble. In English it goes by avalanche transceiver or beacon. In normal mode, every device sends out a signal. If someone gets buried, everyone else switches to search mode and can locate that signal. The transceiver guides you to within about a metre of the person in a few minutes. It can't do the rest.
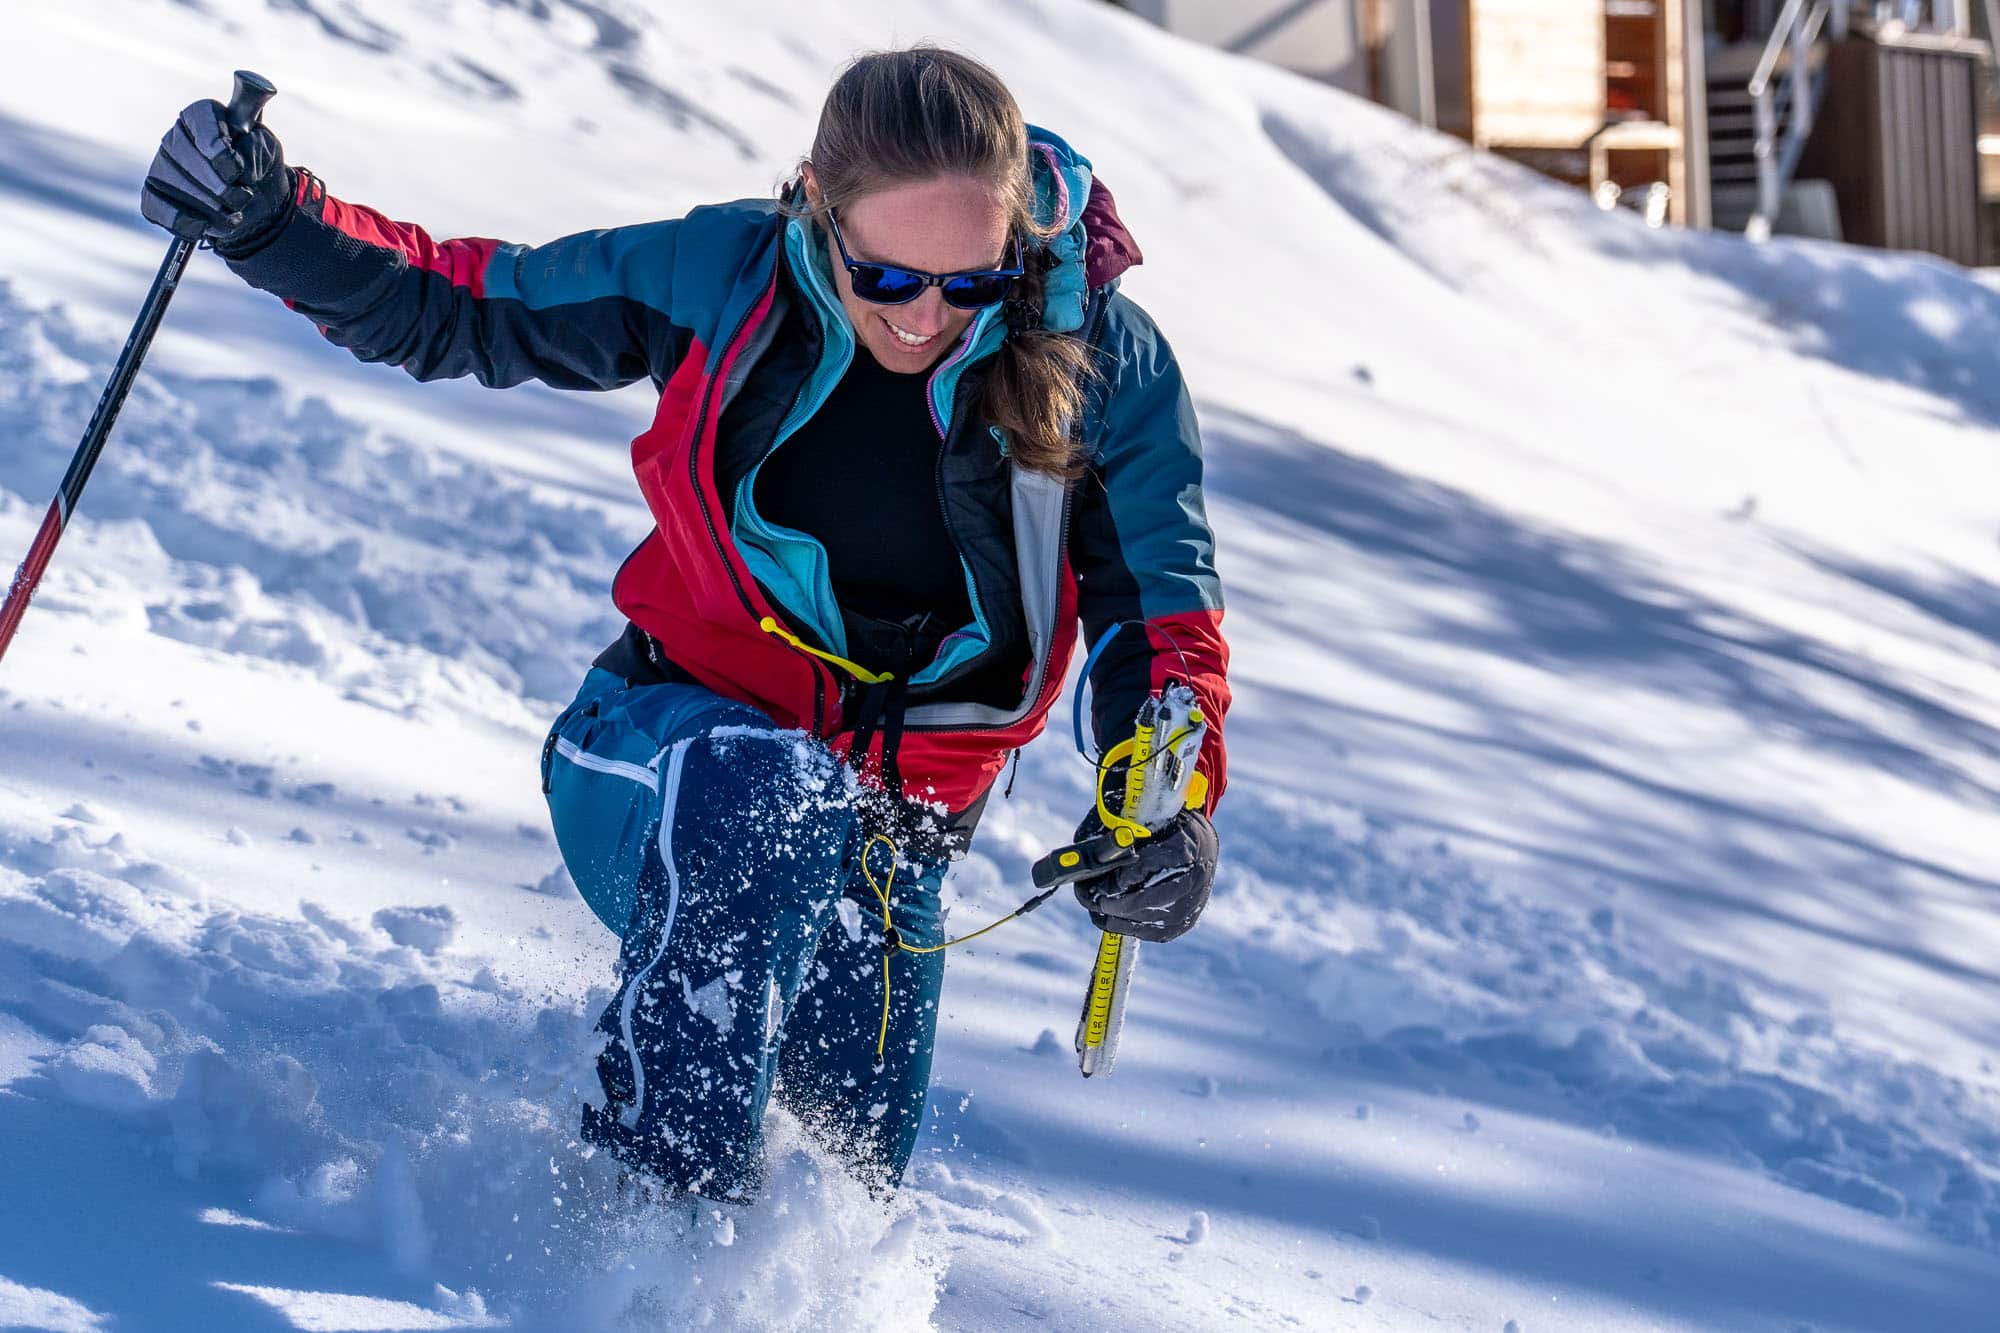
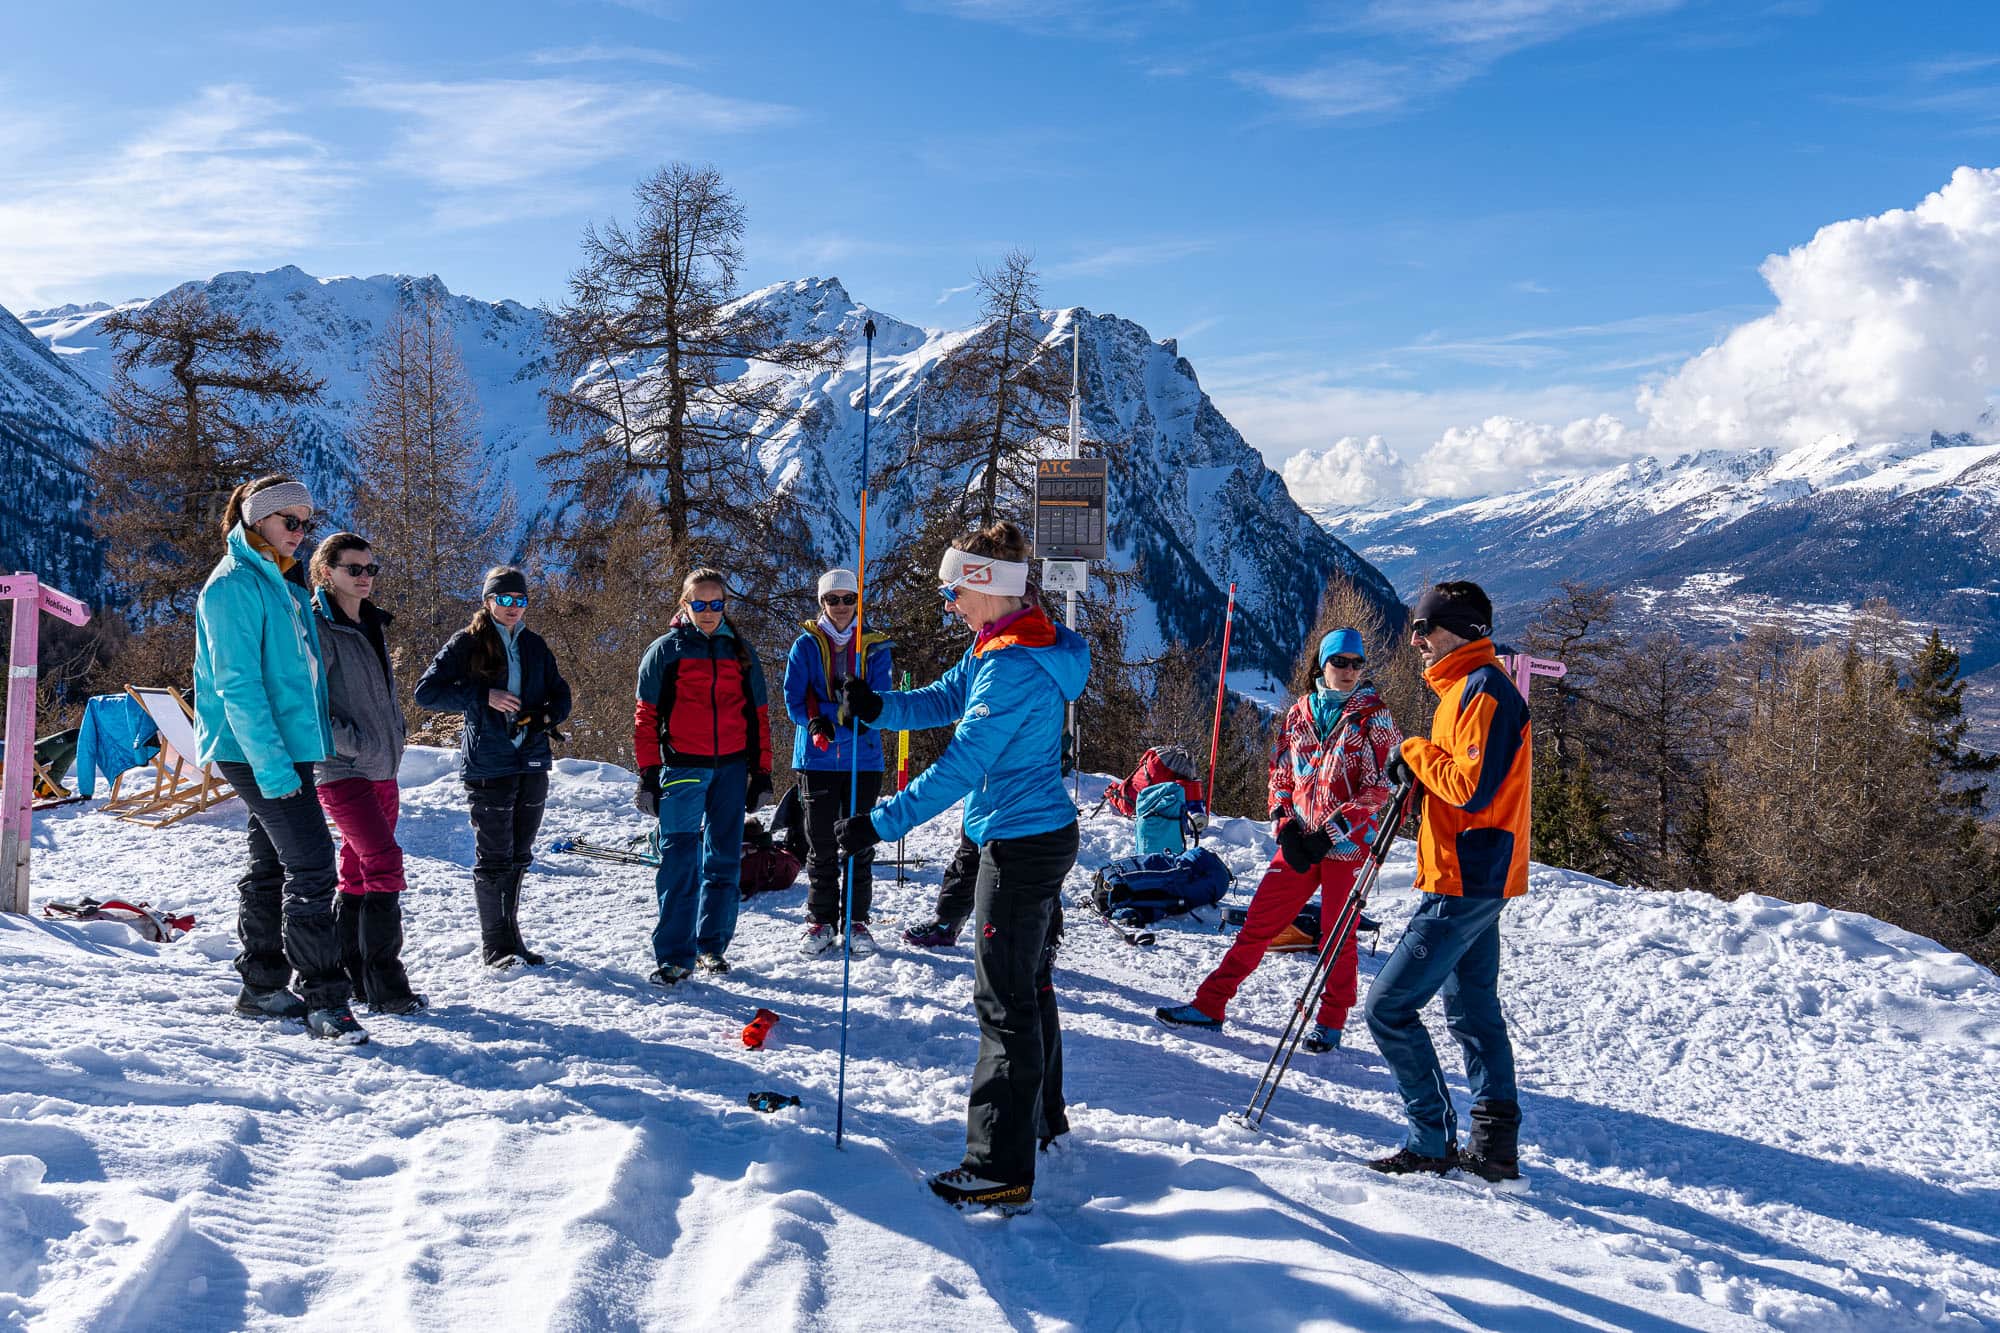
The probe pinpoints the exact spot. It's a bit like a collapsible tent pole, only longer and sturdier. You use it to probe the snow systematically until you hit the person. That way you know exactly where and how deep to dig, and you don't waste time shovelling in the wrong place.
The shovel gets the person out. Sounds obvious, but it's the most exhausting and longest part of the rescue. Avalanche debris isn't powder, it's as hard as concrete. You won't get far with your hands or a snowshoe.
Where your transceiver belongs: on your body, not in your backpack. In an avalanche, your backpack can be ripped off your back, and then your device is transmitting from somewhere, just not from where you are. The transceiver goes in your chest pocket or its harness under your outermost jacket, switched on before you set off. At the start, the group does a quick check: is every device sending, is every device receiving? It takes a minute and feels good.
Shovel and probe go in your backpack, within easy reach and not buried under your thermos, sandwich and spare gloves.
Add a charged phone (emergency numbers in Switzerland: Rega 1414 or 112), a small first aid kit and an emergency blanket. If you have all of that with you, you're equipped. Whether you're also prepared is another question.
Carrying it isn't enough
Now for the part rarely mentioned in the sports shop: a transceiver in your backpack doesn't make you safer. It only makes you safer if the people around you know how to use it. And vice versa.
The reason is time. If you're completely buried, your chance of survival in roughly the first 15 minutes is about 90 percent. After that the curve drops steeply, experts call it the "deadly bend", and after just over half an hour the chance is only around 30 percent. The most common cause is suffocation.
In practical terms, that means: Your group does the rescue, not the helicopter. Even when Rega is fast, it needs time for the alert, the flight and the search. A buried person usually doesn't have that time.
That skill makes the difference is shown by figures from the SLF. For buried people who were found by their companions, the burial time dropped from 15 to 10 minutes over 20 years. As a result, the share of survivors rose from 60 to 72 percent. Five minutes, almost a third fewer deaths.
And now the uncomfortable truth: your transceiver doesn't save you. It helps the others find you. Only the people next to you can save you. A device you can't operate is therefore mostly an expensive conscience-soother. And if you're the one searching, that's not the moment you want to read the manual for the first time.
The good news: a transceiver search can be learned, and faster than you'd think. A few hours of practice with someone who shows you how, plus a refresher before every season, turn that orange thing in your backpack into a tool you can rely on. That's exactly what we practise in my snowshoe course [course link to follow]: searching, probing, shovelling, until it sticks. With plenty of laughter in between, promise.
Conclusion: your own tracks, but with a plan
Do you need an avalanche transceiver as a snowshoer? On open, signposted trails in flat terrain, mostly not. But as soon as you break your own trail and there are steep slopes nearby, a transceiver, shovel and probe are part of the kit. And so is the know-how to use them.
I understand everyone who sticks to marked trails. But I'll be honest: my most beautiful moments on snowshoes have almost always been away from them. When you lay the first track across an untouched slope, the light falls through the trees and there's nobody around for miles, that's when you know why you do this. It's for exactly these moments that learning to read the terrain is worth it.
And if you don't feel confident yet: you don't have to figure it all out on your own. On a guided tour, someone experienced takes care of route choice and risk management, and you can simply enjoy the day. Along the way, you'll pick up what matters: why we go around this slope, how to judge steepness and how a transceiver search works.
A great way to start is my snowshoe tour in Val d'Anniviers: relaxed pace, small group, lots of views and photos of your day included. And if you want to dive deeper, my snowshoe course with avalanche awareness is the right place for you.
See you in the snow.
Questions? Answers!
On open, signposted snowshoe trails, usually not. According to the bfu, these routes are well suited for avalanche-safe snowshoeing, because the operators monitor them and close them when there's danger. But read the trail description first: some signposted trails explicitly require a full set of avalanche gear. And a closure is a closure, no matter how beautiful the weather. Honestly, marked trails can also be a bit boring. If you'd rather break your own trail, you need the gear and the know-how.
Yes, as soon as you're in open terrain. Low doesn't mean zero. Even at level 1, individual extremely steep slopes can release, and that's exactly when people feel particularly safe.
No. Apps like White Risk are great for planning and for checking the avalanche bulletin. But a phone can't locate a person buried under the snow. For that, you need a transceiver.
Yes, many sports shops in mountain regions rent out transceivers, shovels and probes, often as a set. On guided tours, you can usually borrow the gear from your guide.
A modern, digital device with three antennas and controls you can understand even with cold fingers and a heart rate of 160. Try it in your hand before you buy. The best transceiver is the one you search fastest with.
At least once before every season, ideally more often. Many winter resorts have transceiver training parks where you can practise for free. Ten minutes of searching for a buried transmitter beats any video.
On your body, under your outermost layer, in your chest pocket or in the harness it came with. Never in your backpack, because an avalanche can rip it away.
That depends on what's above you. When the danger is elevated, steep slopes above your track can send avalanches far out onto a flat valley floor. A look up the slope and at the avalanche bulletin is always worth it.